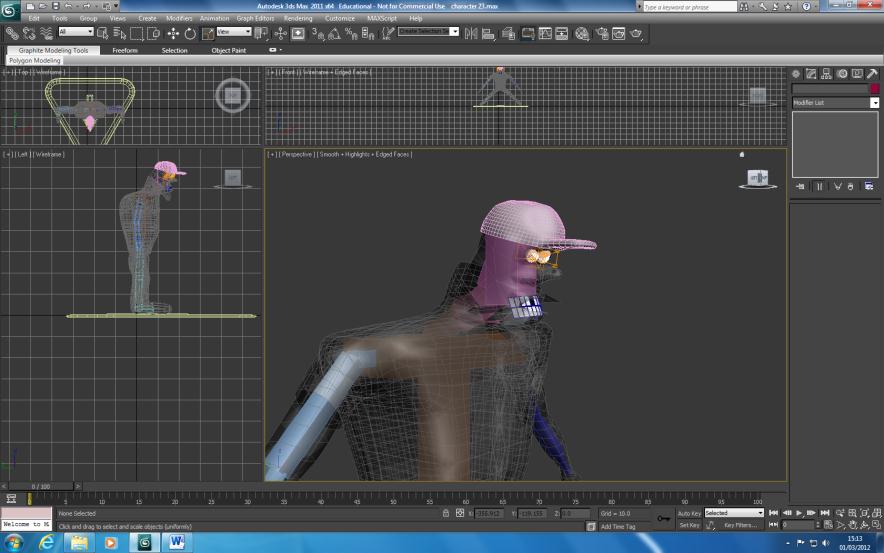
The next stage of the character creation is to add bones to
the character. To start make the character see-through so you can see where to
place the bones then go to helpers and
select catobjects then select catparent. Resize the parent object so that it
fits the character and then add a pelvis to it. Resize the pelvis so that it
just fits the character and then select the add spine option, placing it in
rough alignment with the shoulders.

Next add the arms placing them just inside the mesh of the
arms so the bones fit comfortably. Some of the bones may need to be resized in
order to fit.

Next select the pelvis again and add some legs placing them
within the mesh.

Move back and select the top spine again, the one that is
level with the shoulders and add another spine and place it within the head.
Click on the hand and add another bone, then place it in the
mesh within the finger. Do this for all of the fingers to make up all of the
joints.

Adding skin
Once all of the bones have been added select the mesh and
add the physique modifier. Add all of the bones to the modifier which will
attach the mesh to the bones. In the drop down list from the physique modifier
select the envelope option and using the child and parent overlap options
smooth out the connection between bones and mesh.

Changes
Due to problems with the catobjects to make the bones I had
to scrap the bones and do it again with the biped instead. Each part of the
biped needed to be resized and moved around so that it fitted comfortably
inside the mesh. Once all the bones were the right size I had to select the
pelvis and initialize the bones to the mesh. I could then select the envelope
feature in the physique modifier and smooth out the skin around the bones. To
check if the bones were attached to the skin comfortably I selected the biped
and added some footsteps so I could watch my villain walk with the skin. This
allowed me to see where the skin needed a little more smoothing.


